These are the basic processes/steps I go through everytime I make one of my sculptures. I don't have pictures of everything so I am improvising with explanation or borrowing other pictures. (I can assure you I did not go from a dinosaur to a wolf!)
The Idea
The first thing I can do before sculpting is coming up with an idea (this goes without saying). But okay what do you do after you have the idea? Well I sketch it out. For anything other than a human I sketch out a side profile (for the main shape) and a front profile (for the legs/arms); if it is a human, front profile is sufficient. I will generally draw the sculpture to scale and use it to measure and cut the wire for the armature.
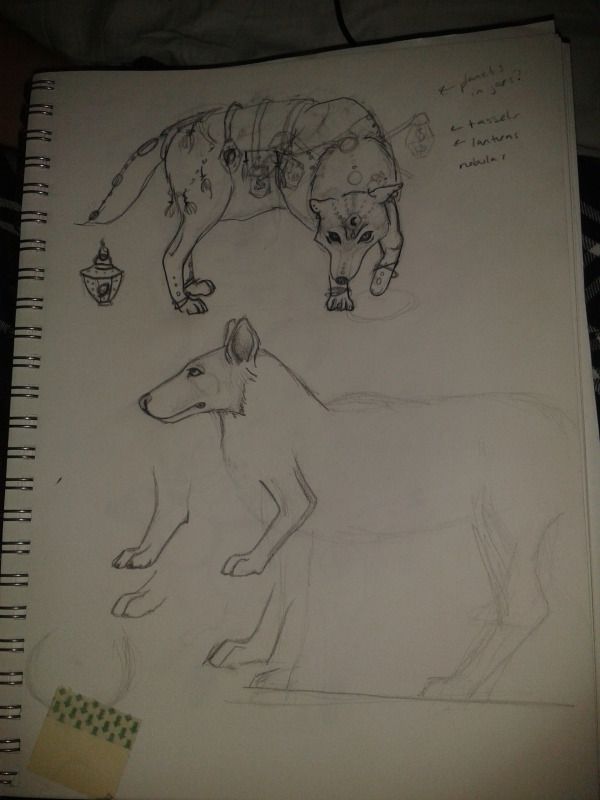 |
Top wolf was my initial pose and plan.
Second wolf was my sketch for for the armature.
The little drawings of paws was me trying to figure how
to draw/sculpt the paws. |
The Armature
Armatures are the skeleton of your sculpture. You want your armature to be sturdy and balanced (especially if it will be a free-standing sculpture). Just because you armature is balanced and will stand now doesn't mean it will still be balanced once you start putting on the clay.
Some things to consider are:
- Where is the maximum bulk of your clay going to be? (for my Wolf, it was going to be the mane/neck)
- Will this extra weight make my sculpture unbalanced? (Yes)
- Where will you offset the weight? (I bulk out the mane with tinfoil so I will use less clay and I will add more clay to the tail to help even the weight)
If I had chose just a normal standing pose (with no bending to the inside) I wouldn't have had that big of a problem with the mane being heavier. But since I chose this pose, once I started putting the clay on, the outside caused him to topple over. I had to keep re-bending the armature and adding clay to other points until he was balanced.
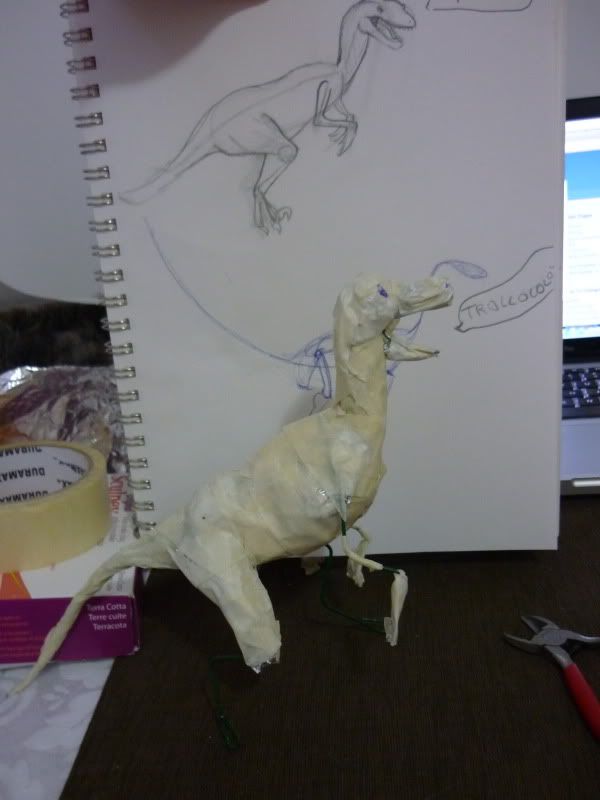
I didn't have any pictures (at least on this computer) of the wolf's wireframe before I finished bulking him out with tinfoil ... so here is Velcro the Velociraptor in partial wireform.
You can see the floral wire still and bits of tin foil. After you bend your armature into the shape you are happy with, secure any joins with masking tape or even plumbers tape might work. Next you will want to use tinfoil to bulk out the areas that will take the most clay. I generally scrunch up the tinfoil and try to follow the muscle groups with it. I generally leave the legs and paws just wire and masking tape.
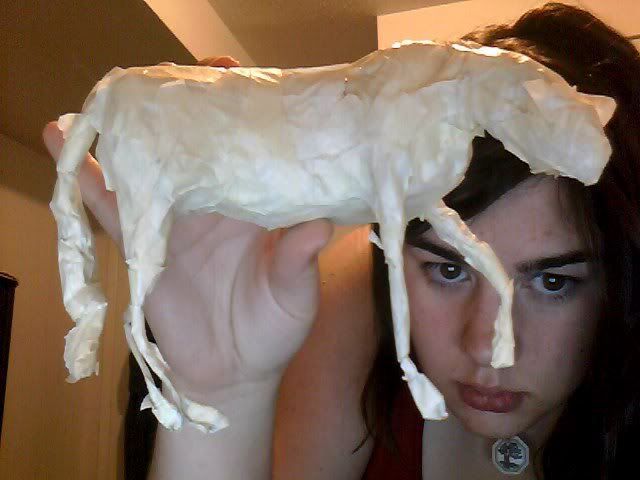
When you are happy with your amount of bulkiness, then wrap the fellow in masking tape to keep the tinfoil from moving and to provide you with a smooth solid surface to start adding clay.
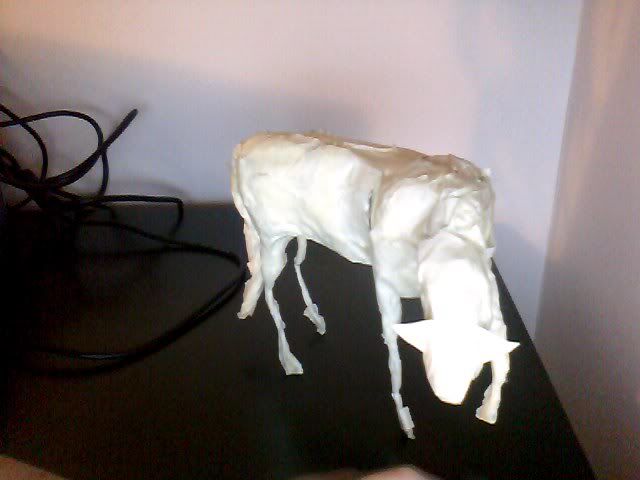 |
| These are two sculpture ready armatures! |
Warning: Do not overbulk your sculptures with tinfoil. I have a tendency to do this sometimes and end up having to try and cut off some of the tinfoil (which is annoying and hard to do) or smooshing it. Basically you want your bulked armature to look like a emaciated version of whatever you are making. You have to account for the clay you are adding on and the thickness it will provide. As you can see I over-bulked my wolf! And I had a heck of a time to make him not look just plain chubby.
The Clay
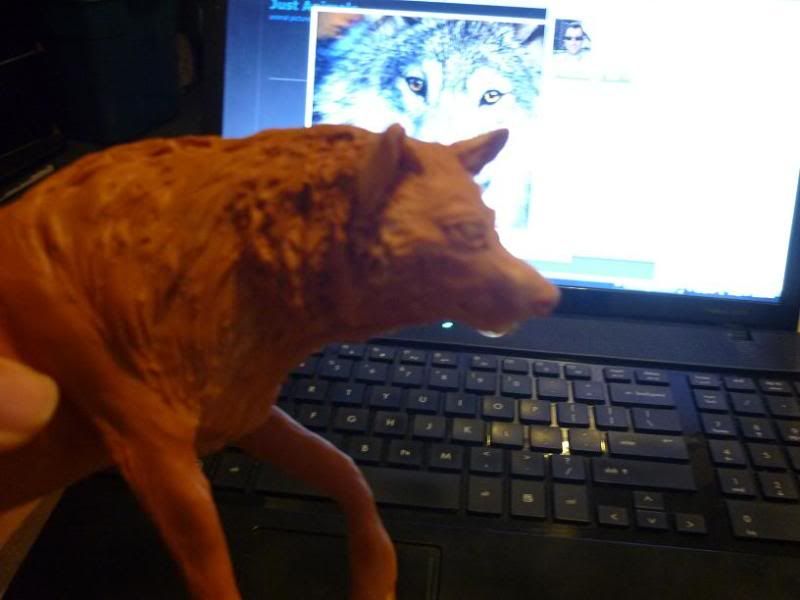
When I start out, I try to apply an even amount of clay to the whole body. This allows me to see where I can afford to put more clay without creating a puffball. Next I start adding rolls of clay where the different muscle groups are - I was taught this in school and I find it makes the difference.
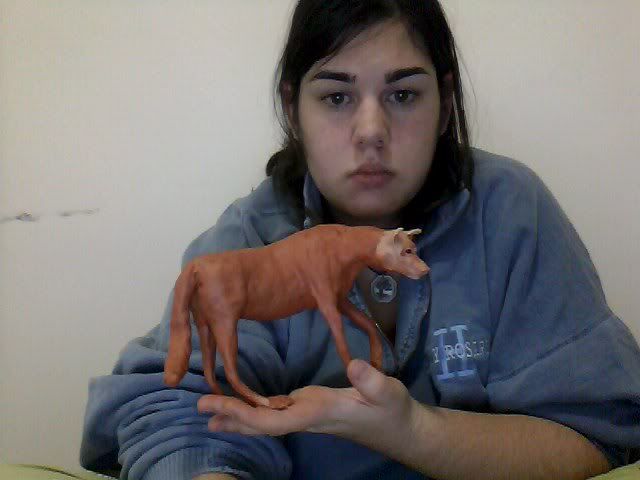 |
| I used Sculpey Original (his body) and Super Sculpey (his head) |
Once you are happy with the overall shape of your creature, its time to start refining the features. This is the stage where I sculpted the paws, mouth, nose, eyes and ears. I added clay for fur and textured what was already there of his mane and tail.
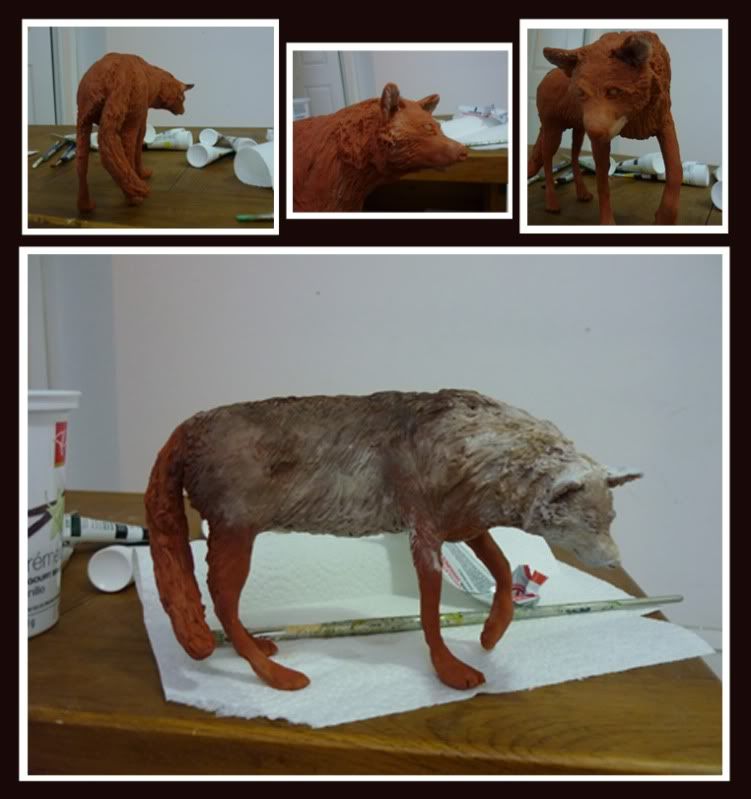
Alright I usually leave the sculpture for a few days and won't even look at it - then I come back with a fresh set of eyes and fix anything I am not happy with. This wolf's eyes were giving me trouble, but I thought I was happy with them and decided to bake him anyways.
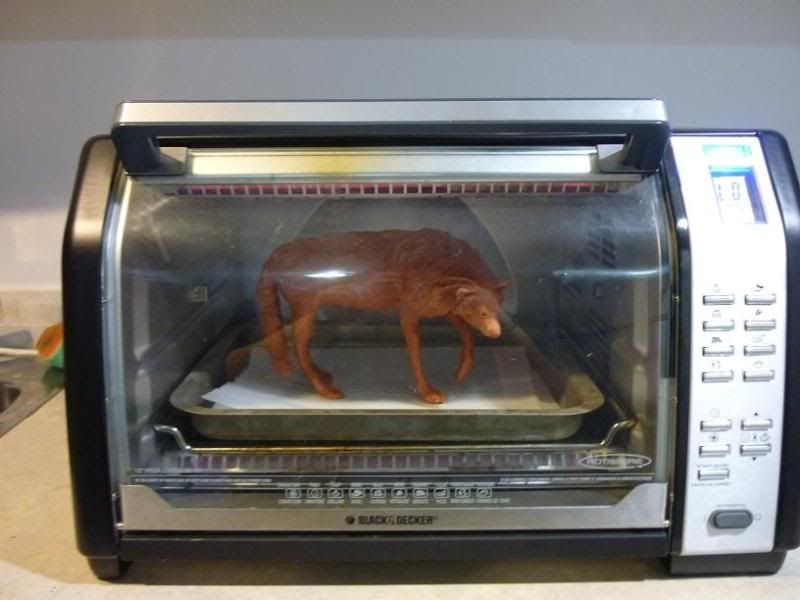
The Bake
Not much to say here other than follow the manufacturers instructions on how to cook your sculpture. And keep a watchful eye on it if it is close to the element like this guy is. I burnt his back a bit, but it looks okay when I was painting him. I have never really experienced an issue by burning a sculpture, except for when trying to paint a lighter colour.
The Paint
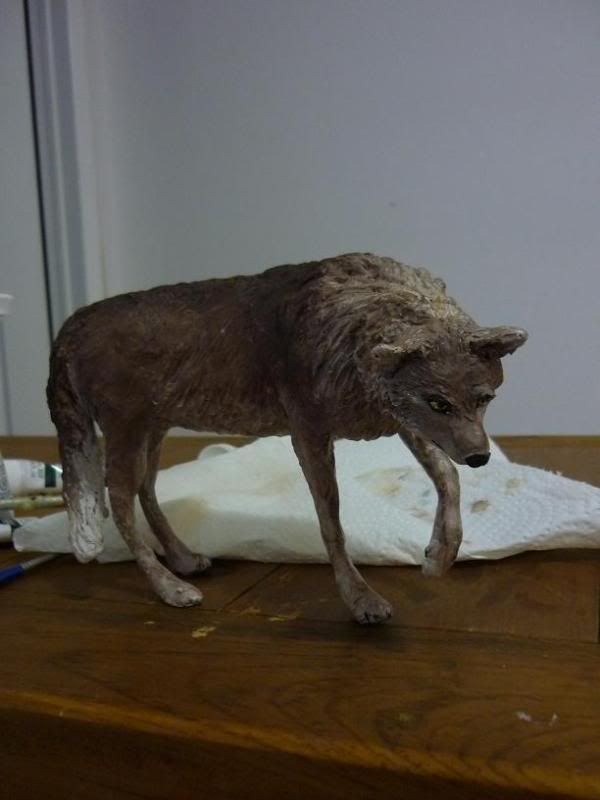
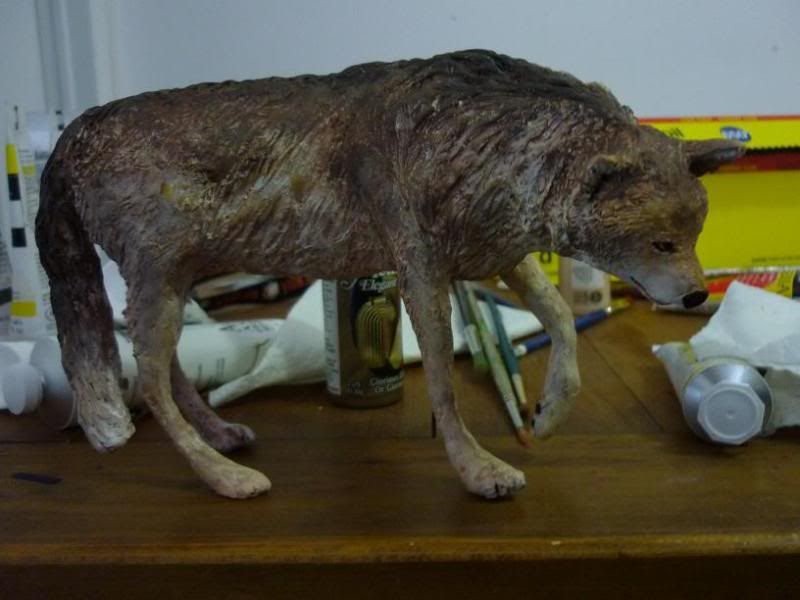
He is now baked and ready to be painted. I tend to dry-brush paint my sculptures, I generally like the look it gives them. Everyone is different when it comes to painting. I generally have 3 techniques: airbrushing, dry brushing, and pastel painting.
I was finished and I hated him. The nice colouring I had got too dark and it turns out I was not happy with his eyes and nose afterall. I wanted him to have a gentle look, not have the face of a cartoon villain. So as much as I hated to do it. I find at this point you have 2 options... write it off and deem it done or fix it. I chose to fix it, so I started to re-add clay to his face in hopes of fixing the eyes and nose. This would have been a lot easier before he was baked lol.
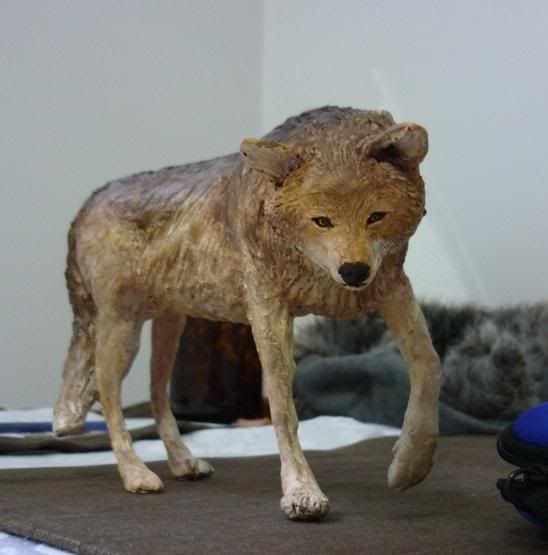
The Finished Product
I was grumpy about having to fix my wolf, but I was a lot happier with the outcome and I am glad I did it. I actually repainted his whole body. I painted him bright yellow, red and orange before starting with the neutrals. The clay made a nice warm colour that showed through the paint and I wanted to mimic it again.